
7 Steps to an Organized Kitchen Remodel: A Comprehensive Blueprint for Success
Renovating your kitchen can be one of the most rewarding ways to elevate your home’s functionality and aesthetic appeal. Yet, without proper planning and organization, the process can quickly become overwhelming. This step-by-step guide provides a clear roadmap to ensure your kitchen remodel runs smoothly and achieves your dream design.
Start your renovation journey by defining what you want to achieve. Ask yourself:
Use the SMART (Specific, Measurable, Achievable, Relevant, Time-bound) framework to outline a detailed scope of work and timeline. Understand whether you’re planning a standard renovation or a major overhaul that may require permits or architectural plans. Budgeting wisely at this stage, including a buffer for unexpected expenses, is crucial.
If you would like a free guide to set clear goals for your renovation click the button below

Who will bring your vision to life? Your choice of professionals depends on the scope and complexity of your project:
Each option has pros and cons, so align your choice with your project needs and budget.
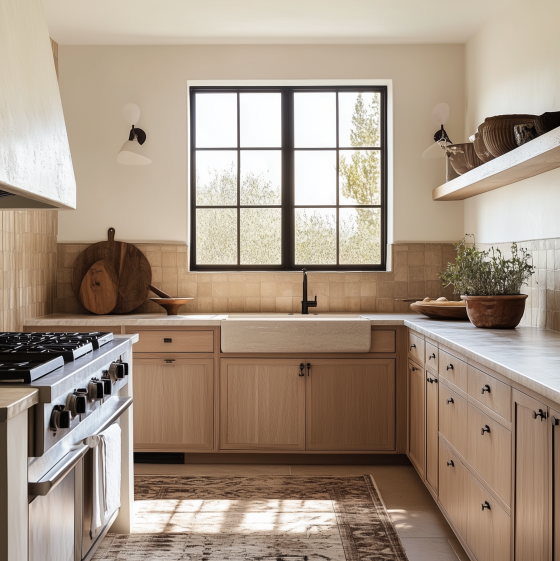
Explore your preferences and decide whether you’re drawn to modern, traditional, or hybrid styles. Tools like mood boards and color palettes can help you visualize the outcome. A historical perspective on design trends can also provide timeless inspiration and ensure your choices feel classic yet fresh.
Not sure how to figure out your style? We have a free design quiz! It will send you a free mood board & inspirational image to help kick start your design journey.
Designing a layout is the most detailed phase. Options include:
Tools like NKBA standards, blue tape mapping, or software like SketchUp or Chief Architect can ensure your layout is both functional and beautiful. Accurate measurements are non-negotiable for success.
Once the design and scope are finalized, it’s time to secure bids. Align the scope with drawings and a comprehensive concept packet that includes:
Allow room for flexibility in material choices and ensure transparency in quotes to avoid budget surprises.
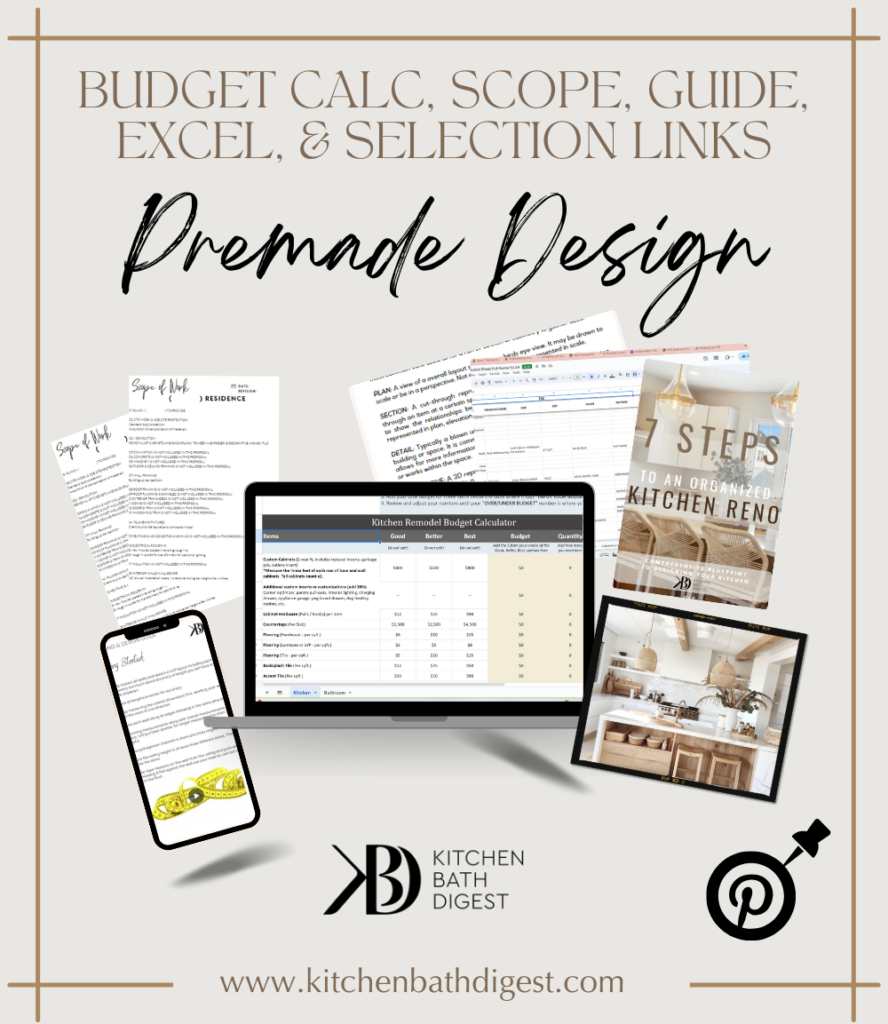
We offer remodeling tools to help you organized your renovation. This bundle linked below includes a budget calculator that will not only help you gather bids but also stay on track financially.

Your material choices define the look and longevity of your kitchen. Create an organized system to track categories like flooring, cabinetry, and countertops. Consider a mix of physical and digital samples to ensure compatibility. Pre-made design kits can simplify this process, offering cohesive, ready-to-implement selections.
This is where it is important to use your design style as your guide. If this feels daunting to you or you are short on time you can always expedite your design process is by utilizing Pre Made Design Kit. These styles come with all the necessary links for purchasing your materials, allowing you to skip most parts of the initial material selecting design step. By leveraging these resources, you can save time and effort, while still achieving a stylish and cohesive look.
Excel is a powerful tool that can greatly assist in organizing your material selection process. To begin, create an excel sheet listing all the categories and factors to consider for your project. Start with the internal elements such as floors, walls, and ceilings, before moving on to the internal components. By systematically organizing your material choices, you will have a clear overview of your options. You can access and download this detailed excel from our Reno Set Go Bundle. It will save you so much time and can share it with your contractor and design team via google docs.
Revisit your bids, scope, and budget to make final adjustments. If needed, explore cost-saving options like in-house labor or value-engineering the design. Thorough vetting of contractors and suppliers ensures your project runs without hiccups.
The crucial steps involved in refining and finalizing your project. There are several aspects to consider, and I will elaborate on each one.
Firstly, it is important to balance your labor and materials bids. Evaluating how the labor bid compares to the material bid is essential to ensure that it falls within the zone of comfort. This step will help you make informed decisions regarding the allocation of resources and budget management.
Next, completing the final scope of work is crucial. Revisiting and re-writing if necessary a comprehensive scope of work guide will ensure that all the necessary tasks and requirements are clearly defined. This will help avoid confusion and ensure that everyone involved in the project is on the same page.
Finding the right contractor is another important aspect to consider. It is essential to ask the right questions and thoroughly vet potential contractors. Understanding what could go wrong and having contingency plans in place will help mitigate risks and ensure a successful project outcome. This includes a trusted referrals, insurance or necessary licenses.
Additionally, it is worth exploring if there are any tasks that can be done in-house (yourself) to help meet the budget. By leveraging internal resources and capabilities, you may be able to save costs without compromising the project’s quality.
In summary, refining and finalizing a project involves careful consideration of various aspects. Balancing bids, defining a scope of work, finding the right contractor, managing the budget, and exploring alternative approaches are all key steps to ensure a successful outcome.
By following these seven steps, you’ll transform your kitchen into a space that reflects your style, meets your needs, and enhances your home’s value. For more tools and templates, and inspiration to guide your remodel, visit our Pinterest > Kitchen and Bath Digest.
Let your dream kitchen take shape!
Want the slightly longer more elaborate PDF version of this blog?